How to Record a Product Demo Video
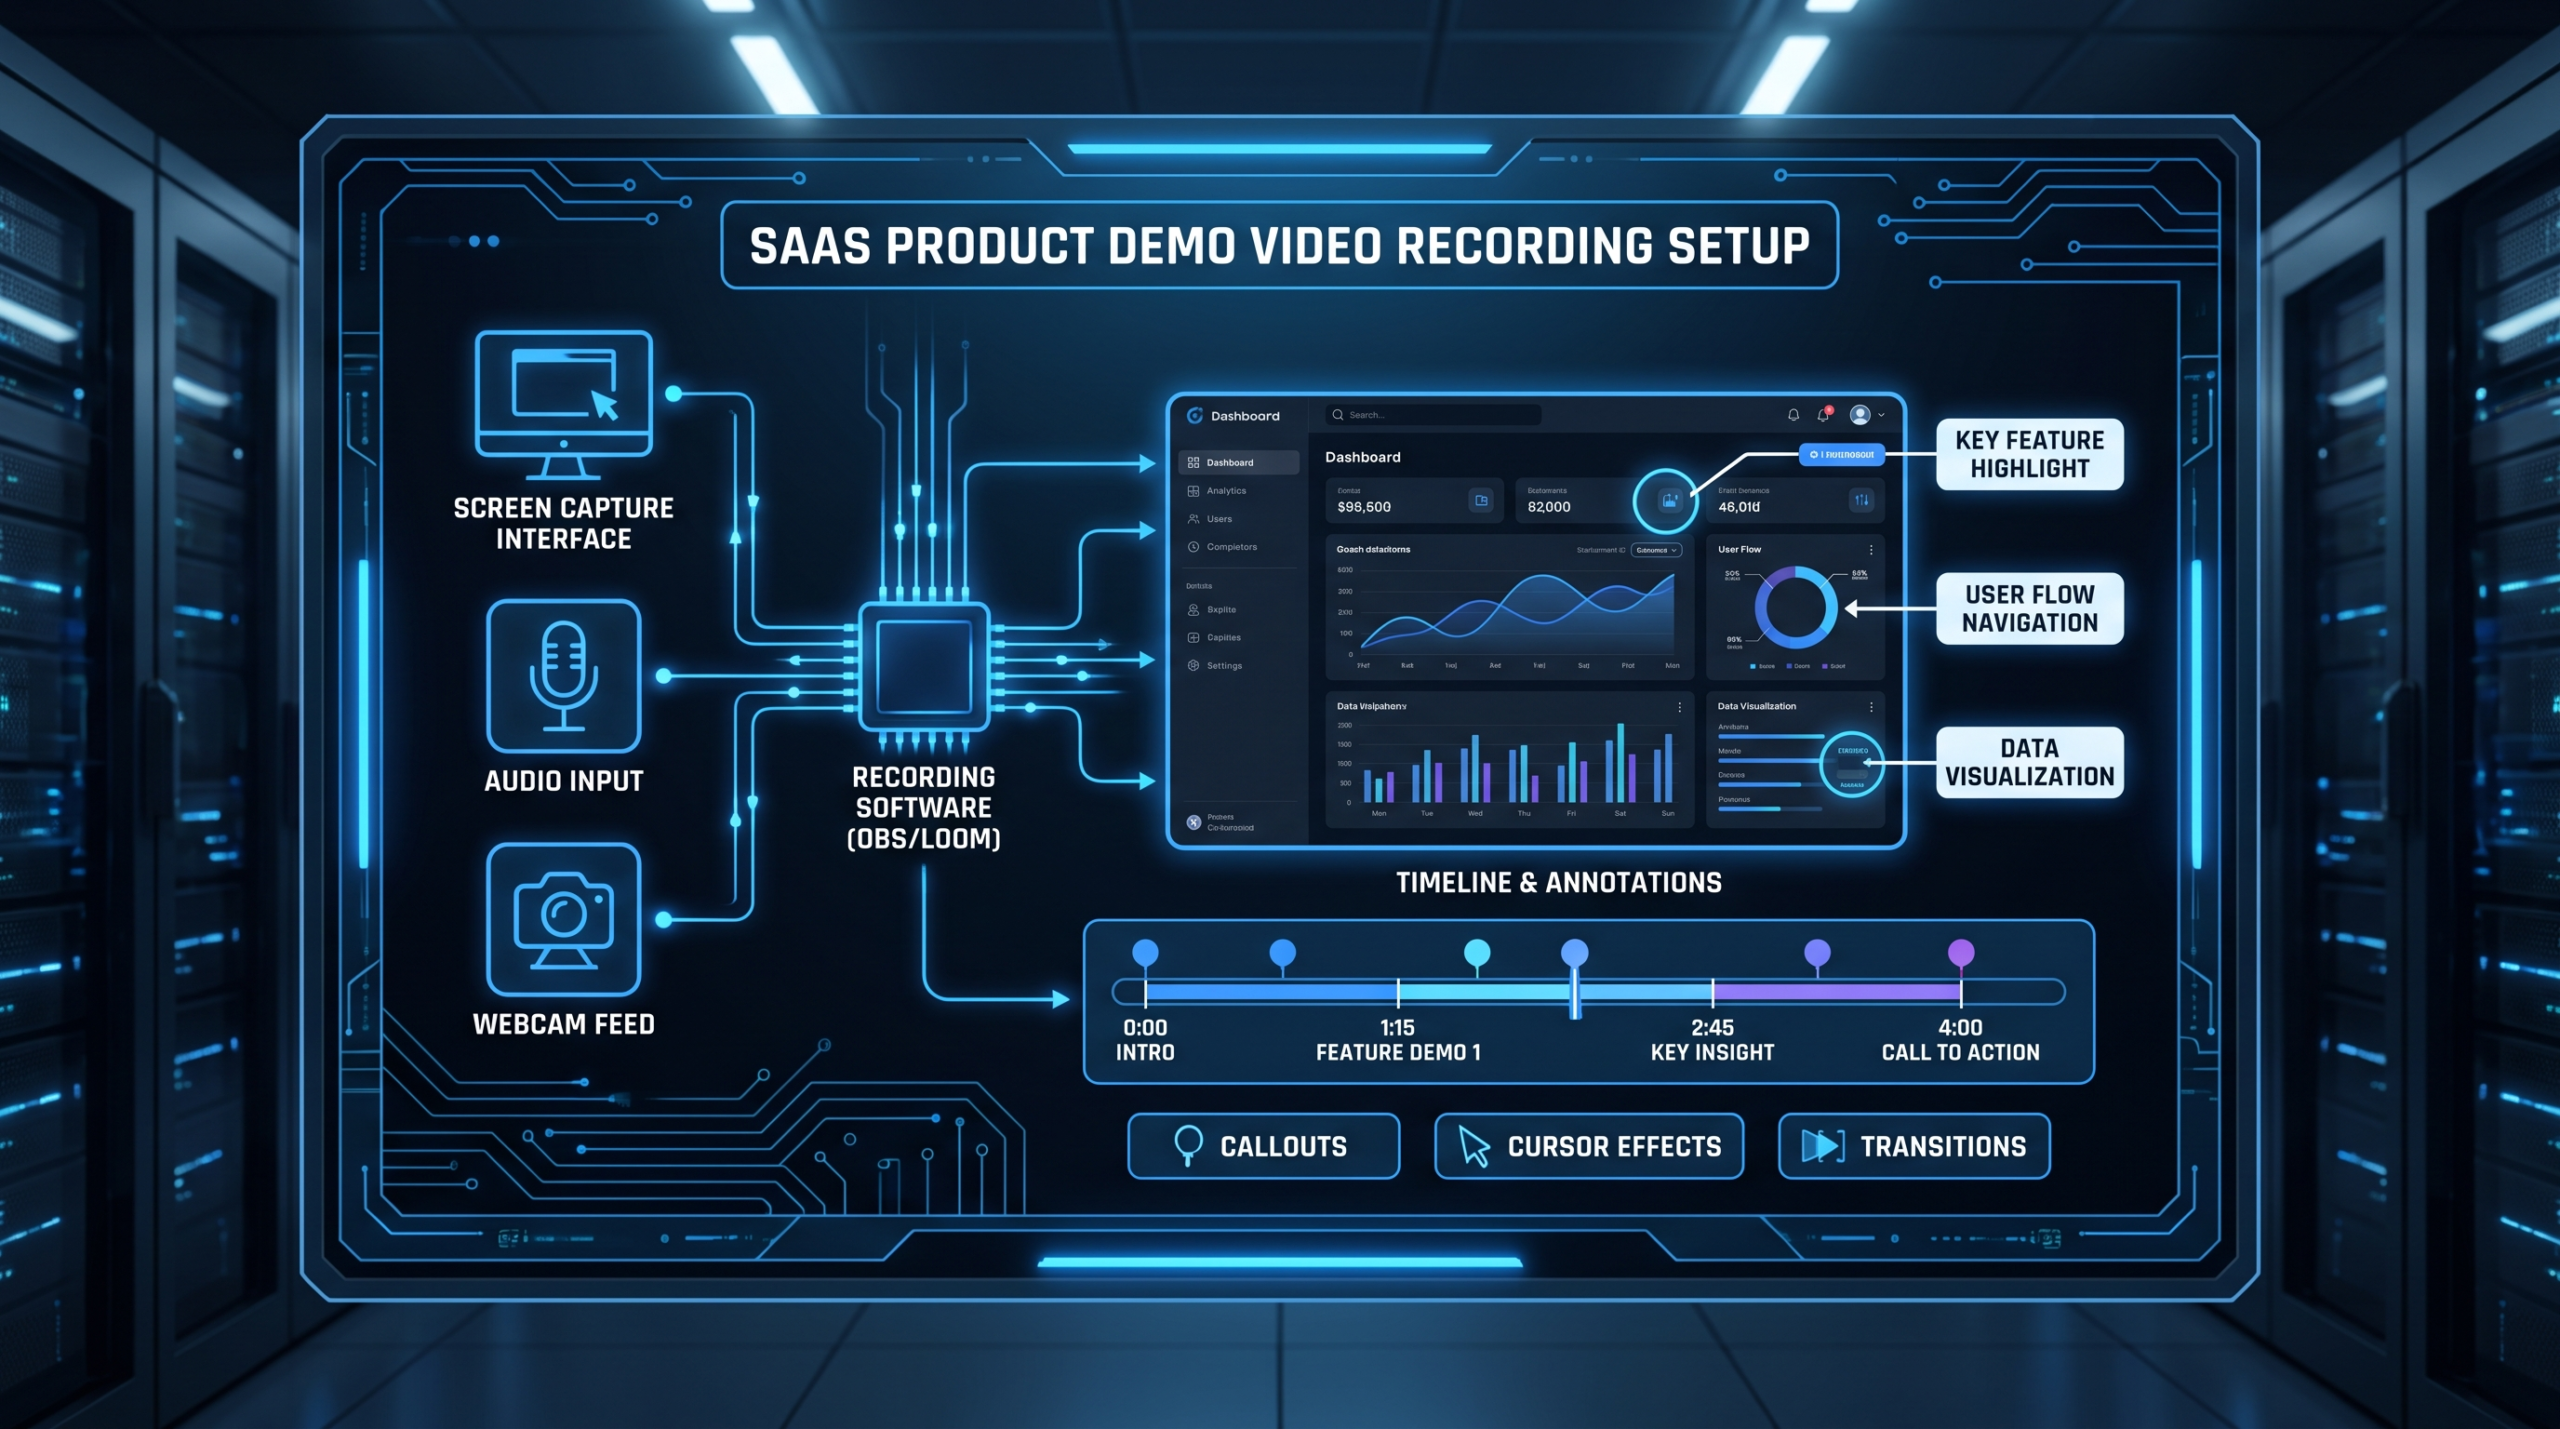
To record a product demo video, you need three things: a screen capture tool configured for your workflow, a clean product environment with no test data or clutter, and a structured recording script so every take follows a consistent narrative arc. Get those three right before you hit record, and the rest is execution.
This guide walks through every phase of the process — from pre-recording prep and tool selection through the recording session itself, post-production checklist, and common mistakes that kill otherwise solid demos. By the end, you will have a repeatable system for producing demo videos that actually move prospects toward a decision.
TL;DR
- Prep is non-negotiable: Clean environment, scripted narrative, and a warm-up run before any recording.
- Tool choice depends on distribution: Async demos (Loom, Descript) for top-of-funnel; studio-quality capture (OBS, Camtasia, dedicated agency) for sales and marketing assets.
- Record at 1080p minimum; 4K downscaled to 1080p for better compression and sharpness.
- The biggest mistake: Recording the full product instead of one problem → one workflow → one outcome.
- Post-production matters as much as the recording — zoom callouts, chapter markers, pacing cuts, and captions are what separate a demo that converts from one that bores.
Table of Contents
Before You Record: Setup and Prep
Most teams skip straight to hitting record. That's why most demos feel unpolished and fail to convert. Every production quality problem — stray notifications, cluttered UI, nervous pacing — is a prep problem in disguise.
Build a Dedicated Recording Environment
Create a separate browser profile or OS user account used exclusively for demo recording. This environment should have:
- Fake but realistic data — no @test.com emails, placeholder names like "Acme Corp" instead of "Test User 1"
- All notifications disabled — calendar alerts, Slack, email badges, system updates
- Browser bookmarks bar hidden — it reveals internal URLs and looks unprofessional
- Screen resolution locked at 1920×1080 — consistency across takes prevents jarring cuts in editing
- No auto-updates during recording — put your machine in Do Not Disturb and disable background app refresh
Write a Tight Script (Not a Full Transcript)
The best demo scripts are not word-for-word transcripts — they are structured beat sheets. For each section of your product you intend to show, define:
- The problem context (1 sentence — why does this feature exist?)
- The action (what you click, type, or configure)
- The outcome (what the user sees or gets as a result)
This three-part structure keeps narration tight and ensures every screen you show is connected to a buyer pain point, not just a feature tour. A finished script typically runs 100–150 words per minute of planned runtime. For guidance on how long your demo should be, see our analysis of product demo video length and the 90-second benchmark.
Do a Full Dry Run
Run through the entire demo workflow at least twice before recording anything. The first run reveals the clicks you forgot to script. The second run builds muscle memory so your cursor moves confidently on screen. Any take where you hesitate or backtrack will require editing time that a dry run would have eliminated entirely.
Choosing Your Screen Capture Tool
Your tool choice should be driven by the video's final use case, not by what's already installed on your machine. A quick async demo for a sales follow-up has completely different requirements from a polished marketing asset that lives on your homepage.
Screen Capture Tool Comparison
| Tool | Best For | Output Quality | Editing Built-in | Approx. Price |
|---|---|---|---|---|
| Loom | Async sales demos, quick walkthroughs | 1080p | Basic trim + chapters | ~$15–$20/user/mo |
| Descript | Content teams, transcript-driven editing | Up to 4K | AI transcript editing | ~$24/mo (Creator) |
| OBS Studio | High-quality raw captures, live streaming | Up to 4K | None (raw files) | Free / open-source |
| Camtasia | Tutorial-style demos with annotations | Up to 4K | Full suite incl. zoom | ~$300/year |
| ScreenFlow (Mac) | Mac-native polished demos | Up to 4K | Full suite | ~$170 one-time |
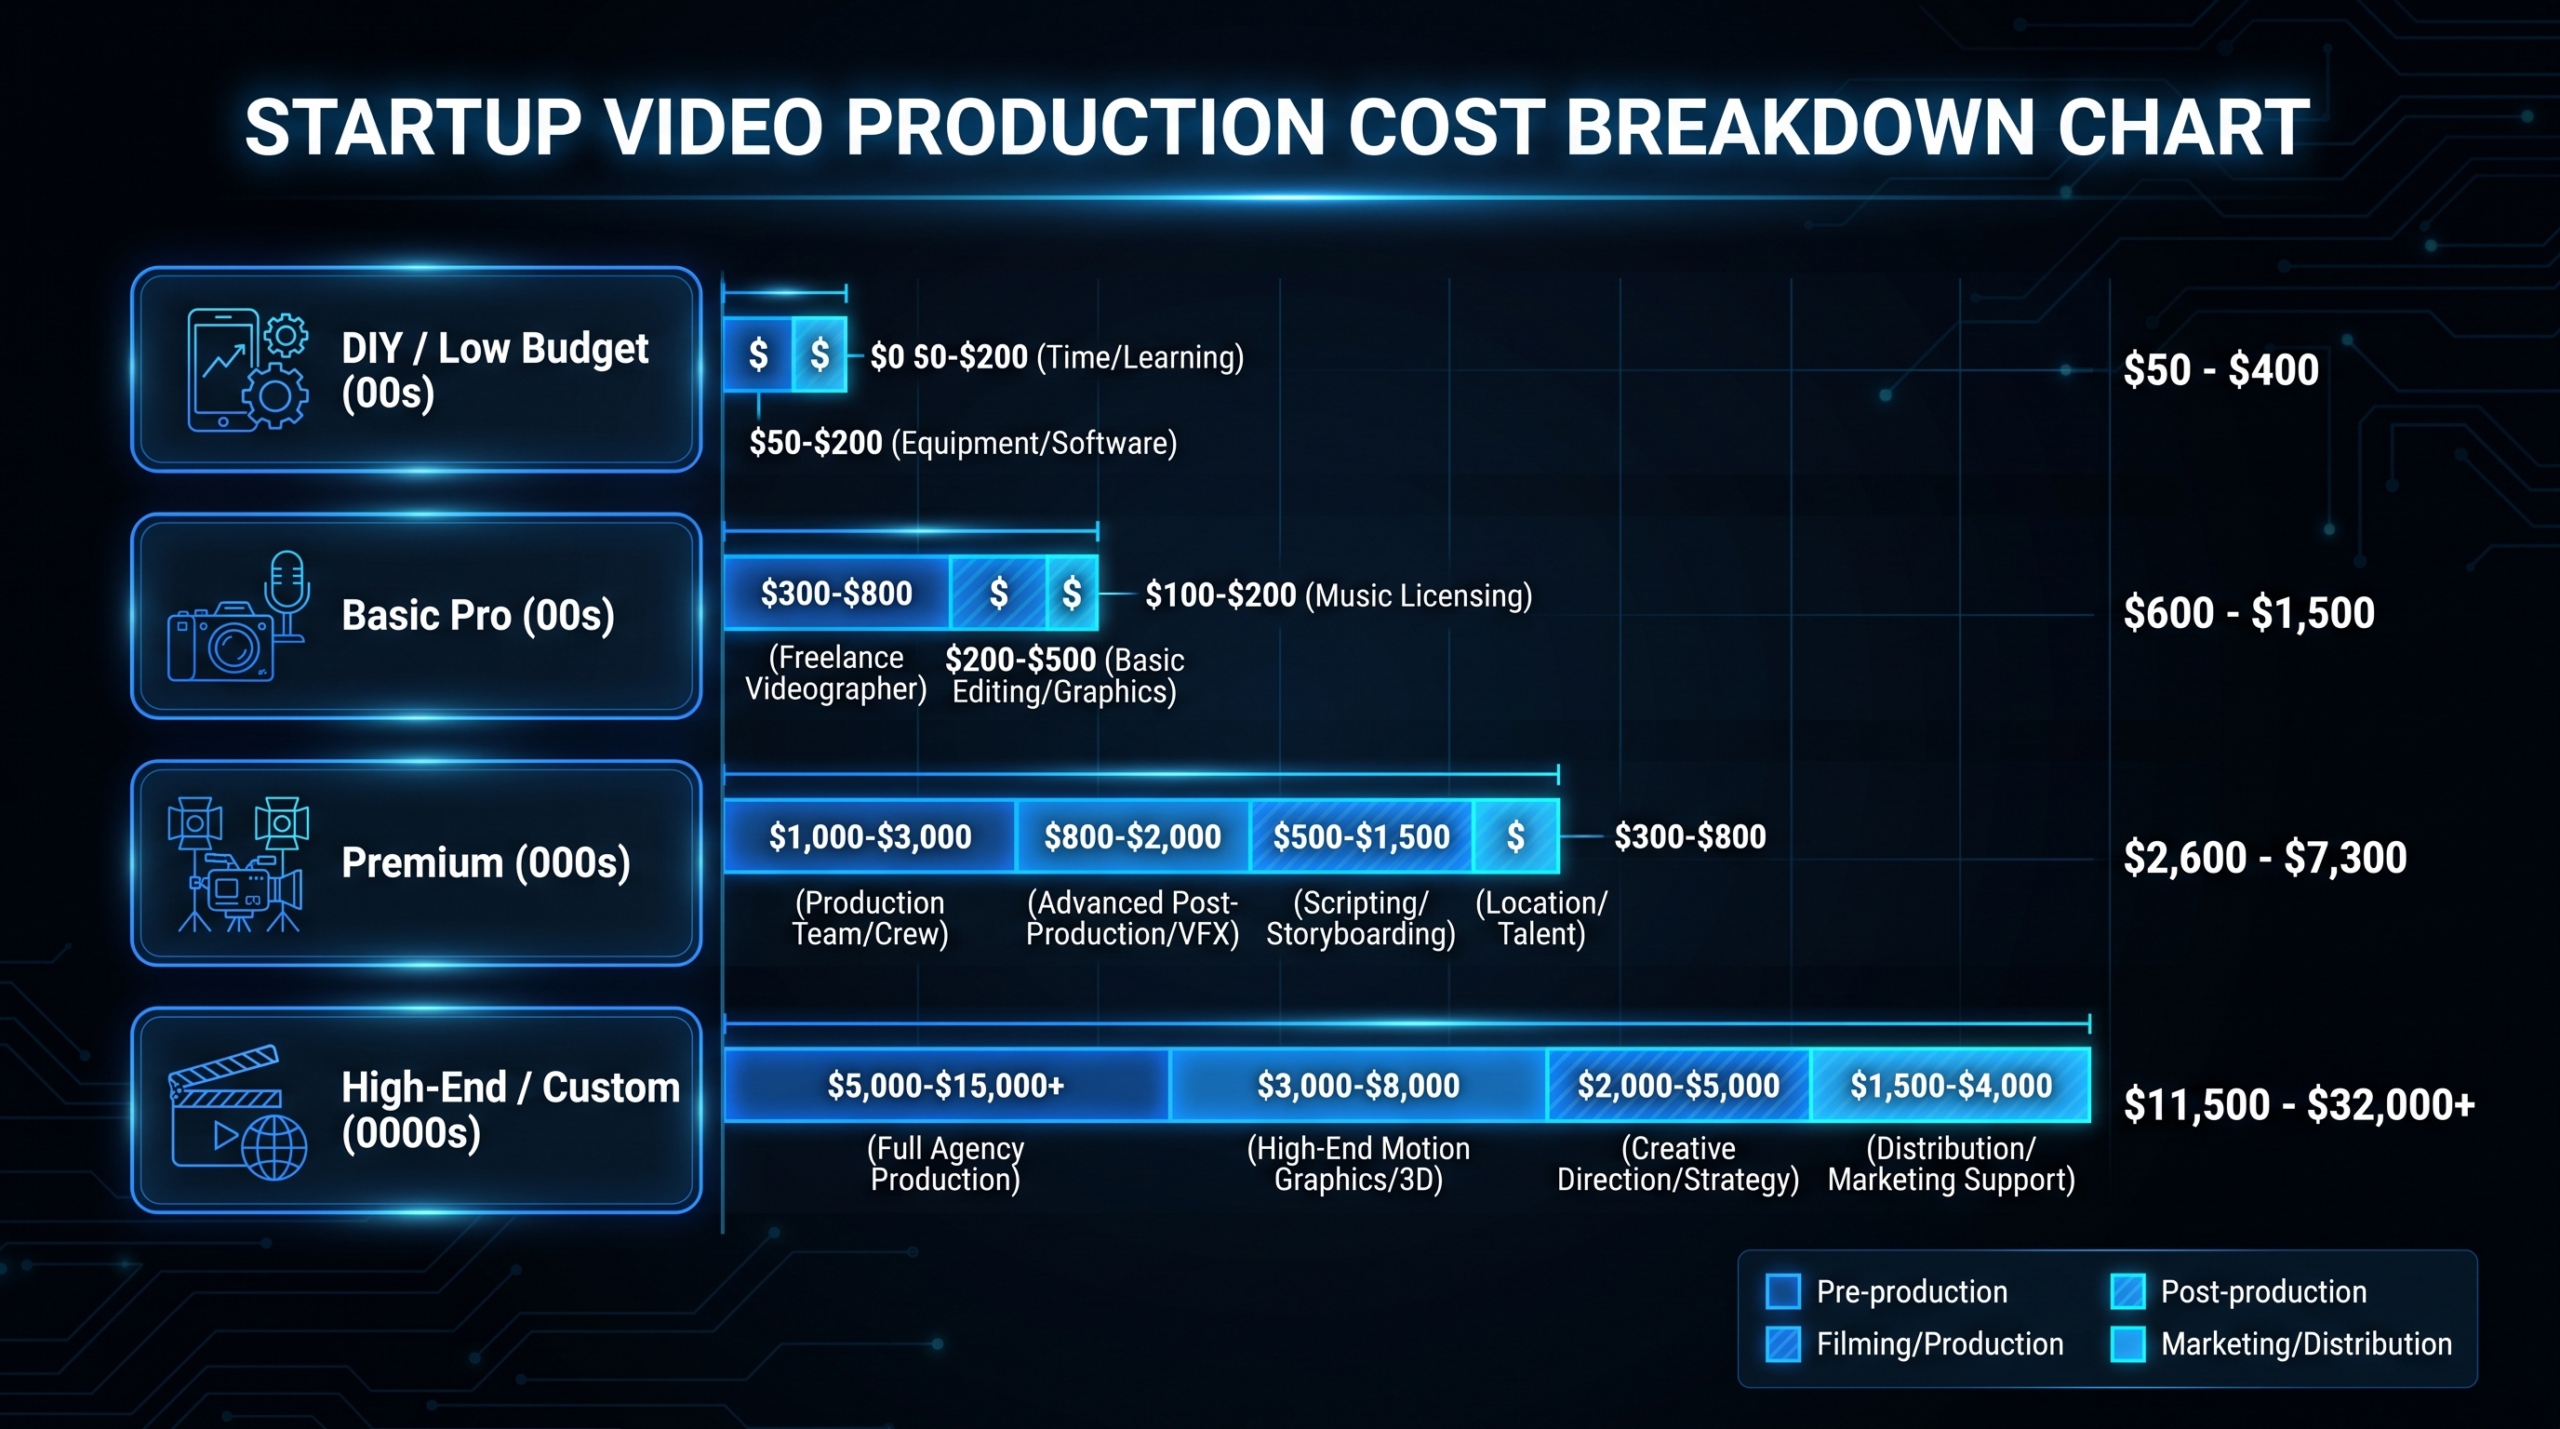
| Agency-produced | Homepage demos, sales decks, paid campaigns | Studio-grade | Full post-production | See VEC pricing |
Loom: The Fast Async Option
Loom is the right choice when speed matters more than production value — qualifying calls, sales follow-ups, onboarding walkthroughs. Its built-in viewer analytics (did the prospect watch the whole thing?) make it genuinely useful in a sales context. The downside: Loom's output tops out at 1080p and the editing controls are limited, which is why teams often use it for capture and then route the file to a video editor for the final version.
OBS + Dedicated Editor: The Quality Stack
For any demo that will live on your website, in an ad campaign, or in a sales deck shown to enterprise buyers, OBS (or Camtasia/ScreenFlow) for capture plus a professional editing pass is the better approach. OBS records clean, uncompressed files that give editors maximum flexibility — zoom callouts, motion blur removal, color correction, and caption rendering all benefit from starting with the highest quality source.
Resolution and Frame Rate Settings
Record at 1920×1080 (1080p) as a minimum. If your machine handles it, record at 2560×1440 (1440p) and downscale to 1080p in export — the downscale sharpens fine UI text that would otherwise look blurry. For frame rate, 30fps is standard for software demos; 60fps is only necessary if you are demonstrating fast animations or real-time interactions where motion clarity matters.
The Recording Session: Step-by-Step
A well-structured recording session produces usable footage on the first or second take and eliminates the need for extensive retakes. Follow this sequence every time.
Step 1: Open Only What You Need
Close every application except the one you are recording. Visible taskbar icons, open tabs, and running processes create visual noise and increase the risk of an unexpected notification mid-take.
Step 2: Calibrate Your Recording Area
If you are using a multi-monitor setup, designate one monitor as the recording display and work exclusively there during the session. Set your capture region to the full 1920×1080 display, not a window crop — window crops shift when the application redraws or resizes, creating inconsistent framing across takes.
Step 3: Record Sections, Not the Full Demo in One Take
The biggest efficiency gain in demo recording is abandoning the idea of a single perfect run. Instead, record each major section of your product as a separate take. This approach:
- Reduces the time lost when a mistake happens 8 minutes into a 10-minute recording
- Allows different team members to record the sections they know best
- Makes it trivial to update one section when a feature changes without re-recording everything
- Gives your editor clean edit points instead of buried jump cuts
For a 3-minute demo, plan for 5–7 discrete recording segments. An editor will stitch them with consistent pacing, color, and transitions.
Step 4: Use Cursor Highlighting
Enable cursor highlighting in your capture tool (most support it natively). A colored ring or spotlight effect around the cursor tells the viewer exactly where to look without requiring zooms on every click. For fast-moving UI workflows, cursor clarity is often the difference between a demo that feels guided and one that feels chaotic.
Step 5: Slate Each Take
Before each segment recording, say the section name and take number out loud ("Onboarding flow, take 2"). This costs three seconds and saves significant post-production time when your editor is sorting through 15 raw files trying to identify which version of each segment is the keeper.
Audio: The Most Underrated Part of a Demo
Poor audio quality signals unprofessionalism faster than any visual issue — and unlike blurry screen captures, bad audio cannot be fully fixed in post. Your recording environment and microphone choice determine roughly 80% of your final audio quality before any editing happens.
Microphone Options by Budget
Microphone Options for Demo Recording
| Option | Type | Typical Budget Range | Best Situation |
|---|---|---|---|
| Built-in laptop mic | Omnidirectional | $0 | Internal drafts only — not for any published demo |
| USB condenser (e.g., Blue Yeti, Samson Q2U) | Cardioid condenser | $50–$150 | Home office, single-speaker demos |
| Broadcast dynamic (e.g., SM7dB, RODE PodMic) | Dynamic cardioid | $150–$500 | Noisy environments, rejects background noise natively |
| AI-enhanced voice-over | Synthetic TTS | Varies by service | Rapid iteration demos where re-recording is impractical |
Recording Environment Rules
- Hard surfaces cause reflections. If you are in a bare room, hang a blanket behind you or record inside a wardrobe (clothes absorb reflections effectively and at zero cost).
- Record at the same time of day. Ambient noise changes throughout the day — HVAC cycles, street traffic, neighboring office noise. Consistent timing means consistent noise floor, which makes batch editing sessions much faster.
- Monitor your levels before recording. Aim for peaks around –12 dBFS on your loudest syllables. Anything peaking at 0 dBFS will clip and cannot be recovered.
Voiceover Versus Live Commentary
For most marketing demos, recording a voiceover separately from the screen capture produces better results than live commentary. You can re-record specific lines without re-recording screen footage, adjust pacing without affecting the visual flow, and route the audio to a better acoustic environment than wherever your screen is. The trade-off is assembly time in post — a workflow your editor handles routinely in a professional video editing engagement.
Post-Production Checklist
The recording session produces raw material. Post-production is where a demo becomes something a buyer actually wants to watch. Here is what a complete editing pass covers.
Pacing and Dead Time Removal
Every demo recording contains dead time — the half-second before a click, the pause while a page loads, the verbal stumble between sentences. Removing these is the single highest-leverage edit in demo post-production. A 4-minute raw recording commonly trims to 2.5–3 minutes of usable content, and the resulting video feels faster, sharper, and more confident even though the content is identical.
Zoom Callouts on Key Actions
Whenever you navigate to a small UI element, input a field, or reveal a result, add a zoom callout — a smooth animated push-in that makes the specific action impossible to miss. Without zoom callouts, remote viewers on small screens frequently cannot tell what you just clicked, which breaks the demo's narrative flow.
Lower Thirds and Annotations
Text overlays serve two functions: they reinforce the spoken narration for viewers watching with sound off (roughly 40–60% of video viewed on LinkedIn and embedded in emails is watched without audio, based on Wistia's viewer behavior research), and they signal to skimmers which section they are in. Keep annotation text short — under 6 words — and position it below the focal action, not on top of it.
Captions
Auto-generated captions from tools like Descript or Adobe Premiere have become accurate enough for most demos, but always manually review proper nouns, product names, and technical terms. A caption that reads "click the dash bored" instead of "click the dashboard" undermines trust in a product that claims to be polished.
Export Settings
- Format: H.264 (MP4) for universal compatibility; H.265 for smaller file sizes on platforms that support it
- Resolution: 1920×1080 minimum; deliver 4K masters if your platform supports it
- Bitrate: 8–12 Mbps for 1080p; 20–25 Mbps for 4K — lower bitrates cause visible compression artifacts on fine UI grid lines and text
- Frame rate: Match your recording frame rate; never re-interpret frames on export
For teams producing more than two to three demo videos per month, the editing pass benefits significantly from a dedicated editing workflow. See the complete product demo video production process for a breakdown of how professional teams structure the full cycle from script to delivery.
Demo Video Formats and Use Cases
Not all demo videos serve the same purpose, and the recording approach should match the intended format. The three primary formats — and when to use each — break down as follows.
Long-Form Walkthrough (5–12 Minutes)
Used for sales calls follow-ups, trial onboarding sequences, and partner training. Covers the full product or a complete workflow. High production value is less critical here because the audience is already committed — but clear structure, chapter markers, and reliable pacing are essential. Record in sections and deliver with a linked chapter index.
Feature-Specific Demo (90 Seconds–3 Minutes)
The workhorse format for marketing use cases: website hero sections, LinkedIn posts, sales deck embeds, cold outreach. Focuses on one specific problem and one specific solution. Should be immediately re-recordable when the feature changes — which is why modular section recording (Step 3 above) is so valuable.
Interactive Product Tour
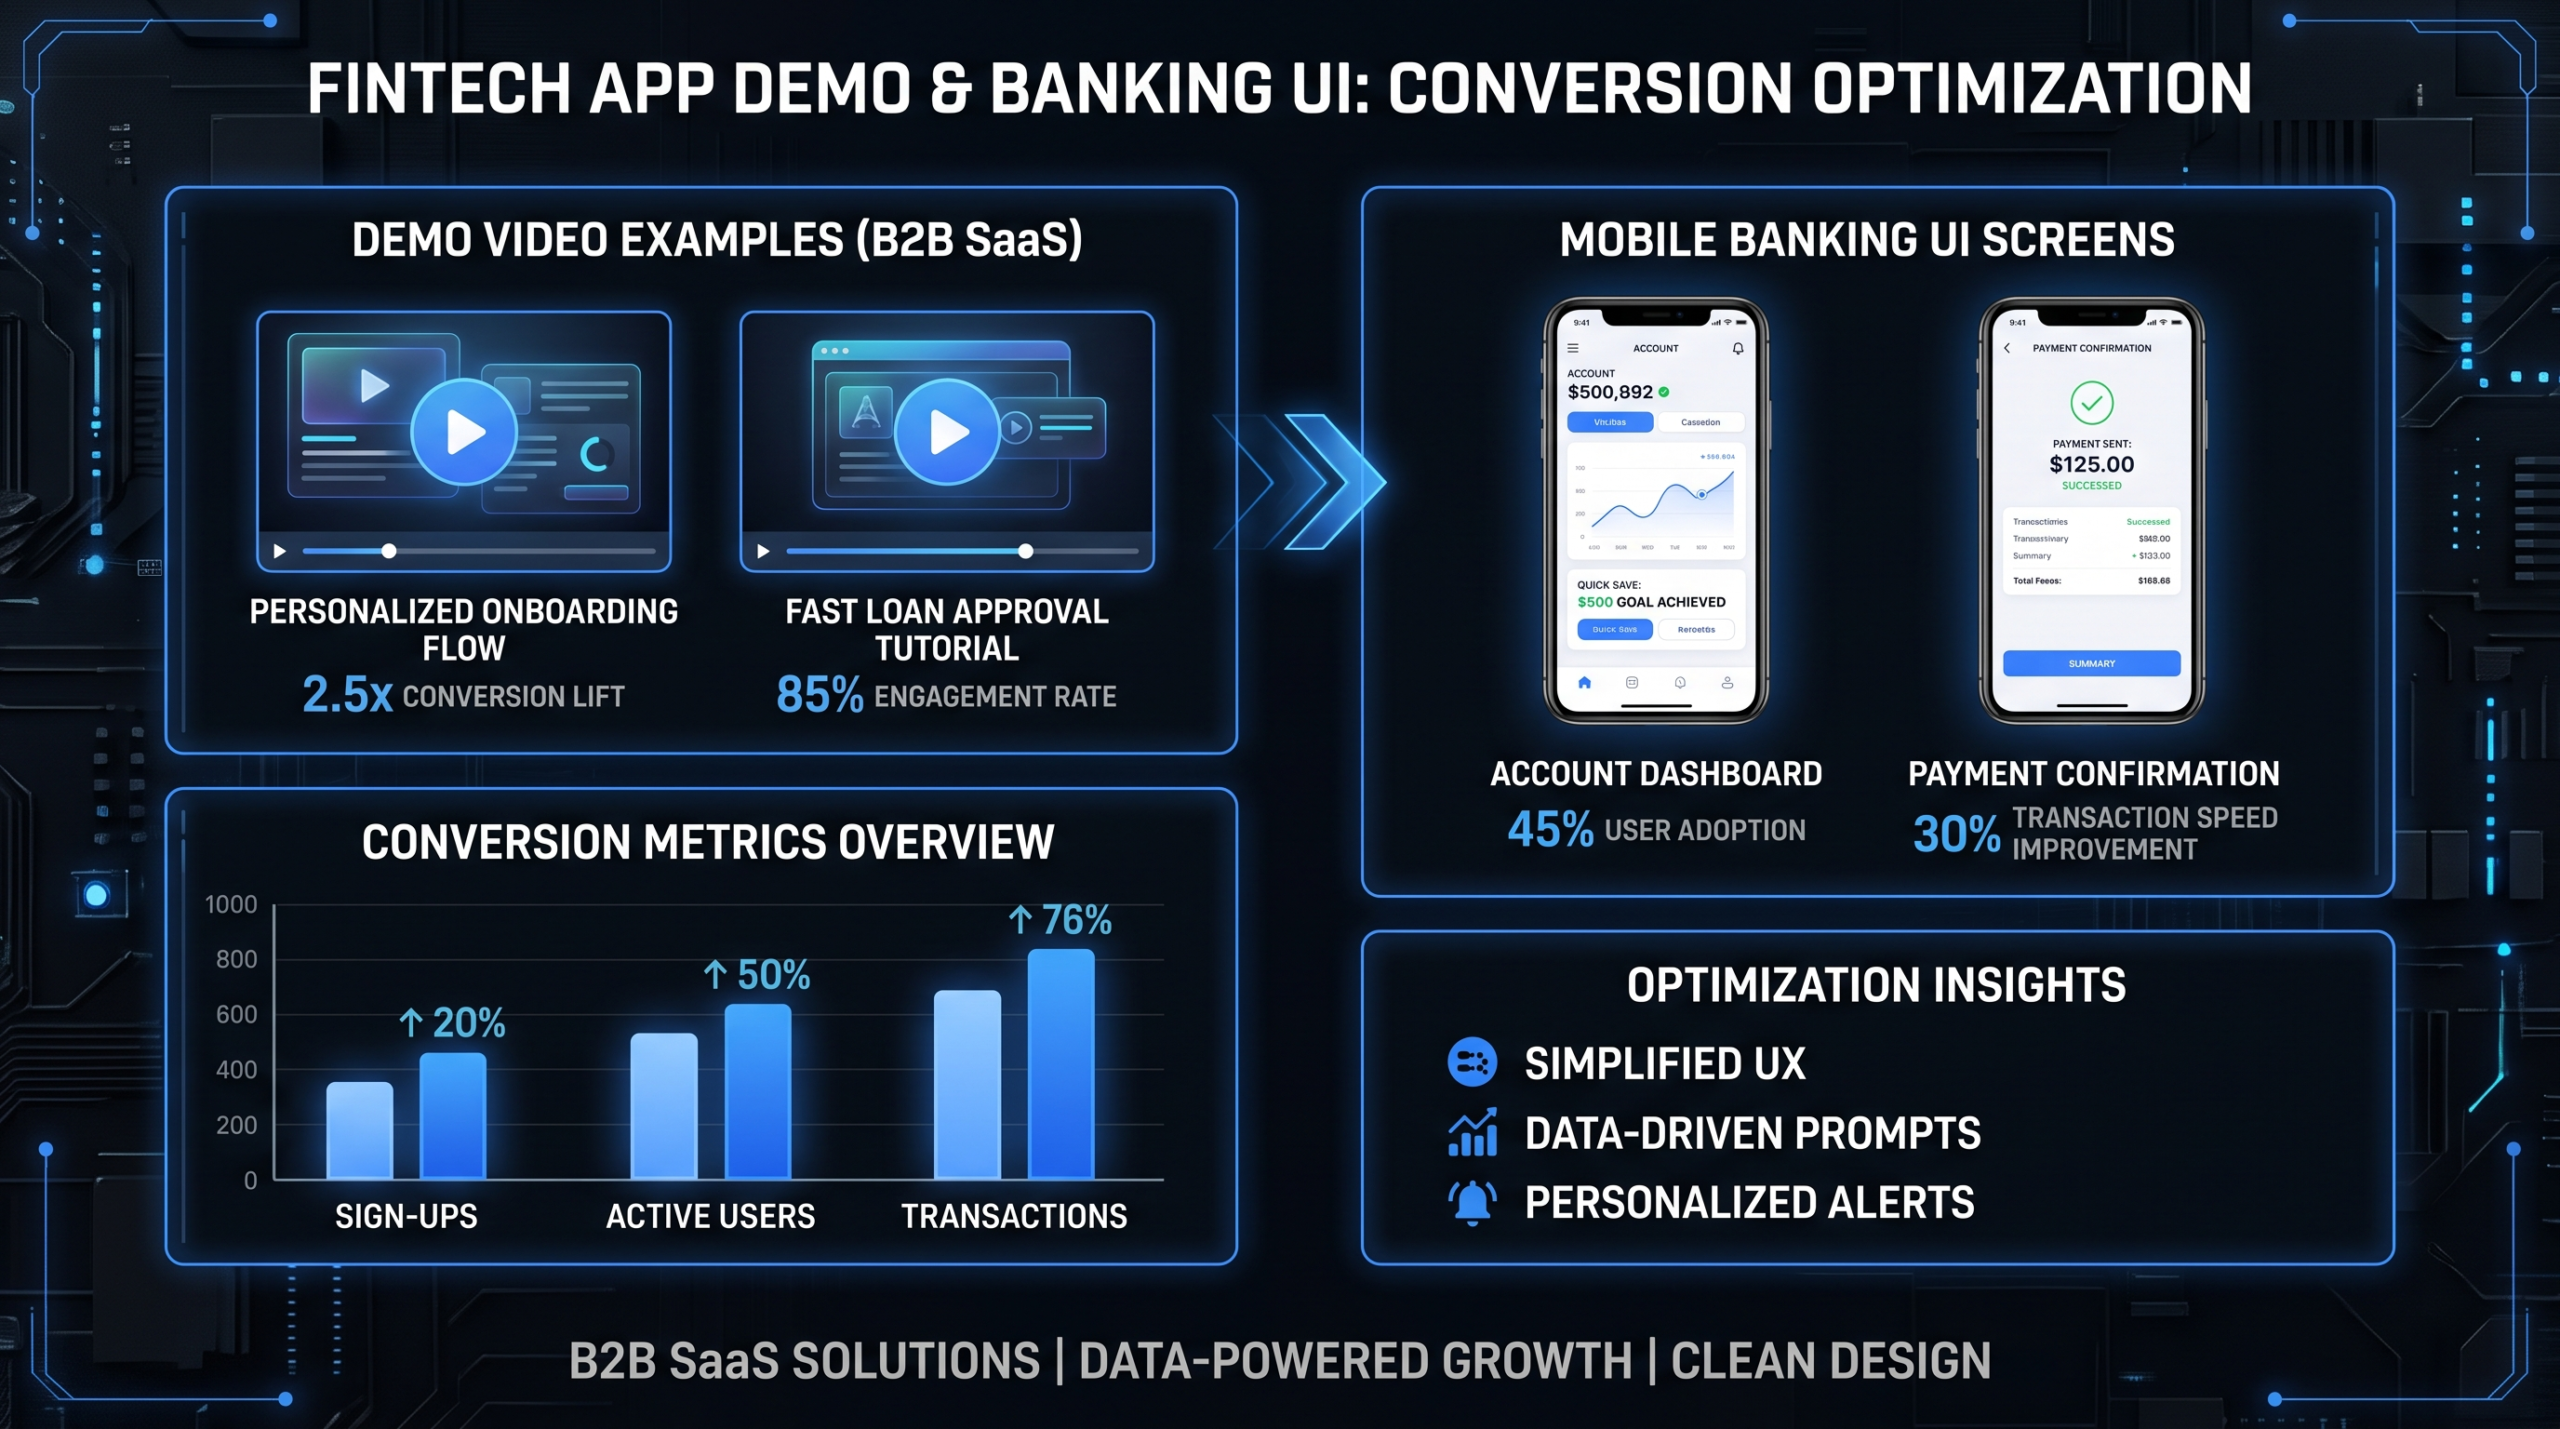
Tools like Navattic, Storylane, and Reprise let SaaS teams build clickable product tours from screenshots or live environments. These are not video recordings but are worth noting because they are increasingly used alongside short explainer videos. See high-quality examples of what converted SaaS demos look like across all three formats in our SaaS demo video examples roundup.
7 Common Mistakes That Kill Demo Videos
These are the patterns VEC's editing team sees repeatedly in raw demo footage from SaaS clients — and the ones that require the most corrective editing time.
1. Recording the Full Product Instead of One Workflow
A demo that tries to show everything shows nothing well. Every demo should answer one question for one persona in one use case. "How does our tool make the weekly reporting workflow faster for a marketing ops manager?" is a good demo brief. "Here's everything our platform can do" is not.
2. Starting With the Login Screen
Start at the moment of value — the dashboard, the key output, the insight the product delivers — not the login page. The first five seconds of a demo determine whether a viewer continues watching. Spending them on authentication is a guaranteed engagement drop.
3. Using Real Customer Data
Beyond the obvious privacy and compliance risk, real customer data in a demo often looks messy and unrepresentative. Build a permanent demo sandbox with compelling, visually clean fake data that makes your product look its best.
4. Narrating What the Viewer Can Already See
If your narration says "and now I'm clicking the Export button" while the viewer watches you click the Export button, you are wasting airtime. The narration should explain the why — "we export directly to Salesforce here, which means no manual data entry for your ops team."
5. No Call to Action
Every published demo needs a clear next step. For a website demo, that is a trial signup button or a book-a-call link. For a sales follow-up demo, that is a direct ask for the next meeting. Demos without a CTA generate views but not pipeline.
6. Skipping the Editing Pass
A raw screen recording is not a demo video any more than a raw interview is a documentary. The editing pass — dead time removal, zoom callouts, captions, color correction, music bed — is what turns 8 minutes of footage into a 3-minute asset that a buyer will actually finish. Teams that skip this step consistently under-perform on demo-to-trial conversion.
7. No Versioning System
SaaS UIs change constantly. A demo recorded six months ago likely shows a navigation structure, feature name, or workflow that no longer exists. Build a versioning system for your demos — date-stamped master files in cloud storage, a review calendar, and a clear ownership chain for triggering re-records when relevant features ship.
When to Outsource Demo Video Production
Internal recording works well for quick async demos and early-stage sales exploration. But there is a threshold beyond which the opportunity cost of internal production — time your marketing or product team spends recording and editing instead of shipping campaigns or features — exceeds the cost of a dedicated video editing partner.
Common triggers for outsourcing:
- You are producing more than 4–5 demo or product videos per month
- Your website hero demo is outdated and no one on the team has capacity to re-record it
- You have a major launch, conference presentation, or enterprise sales push with a hard deadline
- Your internal demos look noticeably less polished than those of competing products
- A/B tests show your current demo has poor view-through rates or low conversion from demo to trial
At that point, partnering with a team that handles both the full outsourced video editing workflow — from raw capture through final delivery — is typically faster and more cost-effective than building internal capacity. Video Editing Company specializes in exactly this for B2B SaaS teams: dedicated senior editors, structured turnaround SLAs, and deep familiarity with software demo conventions. See our pricing and team structures to understand the model.
"The biggest shift for us was moving from one person trying to do everything — recording, editing, captioning, uploading — to a dedicated editing team that handled everything after the raw capture. Our output went from one demo a month to one a week without adding headcount."
FAQ
What software is best for recording a product demo video?
For async sales demos, Loom is the fastest option. For marketing-grade demos destined for your website or paid campaigns, OBS Studio (free) for raw capture combined with a professional editing pass in Camtasia, DaVinci Resolve, or Adobe Premiere produces the best output. Descript is useful for teams that want to edit by transcript rather than timeline.
How long should a product demo video be?
For top-of-funnel or website demos, keep it under 90 seconds for maximum watch-through. For mid-funnel feature-specific demos, 2–4 minutes is the practical range. Long-form walkthroughs for active prospects or onboarding can run 5–12 minutes. Read our detailed breakdown of product demo video length for data-backed guidance by use case.
Do I need a webcam feed in my product demo?
A webcam pip (picture-in-picture) adds a human element that can improve engagement for sales and onboarding contexts where rapport matters. For marketing demos embedded on landing pages or in ad campaigns, most teams skip the webcam — a clean screen recording with professional narration performs better without the distraction of a face overlay. Test both and compare watch-through rates for your specific audience.
What resolution should I record at?
Record at 1920×1080 as a minimum. If your hardware supports it, record at 1440p or 4K and export to 1080p — the downscale produces sharper text and finer UI detail. Lock your display resolution before recording and do not change it mid-session, as resolution shifts create visual inconsistencies across takes.
Can I record a demo video without showing my screen?
Yes — animated explainer videos, motion graphics, and AI-generated interface mockups are all viable alternatives to live screen recording, particularly for early-stage products where the UI is not yet ready for external viewing. These formats require more production investment but offer full creative control over what the viewer sees. See how SaaS companies use both live and animated demo formats across different funnel stages.
Ready to Ship Demo Videos That Actually Convert?
Video Editing Company provides dedicated senior editing teams for B2B SaaS — specialized in demo videos, product walkthroughs, and the full post-production workflow from raw capture to delivery. Growth plan from $5K/month, with a guarantee of double video output in 90 days or month 4 is free.
Book a Free Strategy Call See Plans & Pricing